

Power UpPOW+
Every shot hits harder. Tough enemies go down in fewer hits.
Trade-off: each shot costs a bit more energy.
Story of the Guardian
Everything you need to know to survive the asteroid, plus a complete walkthrough of your first mission.
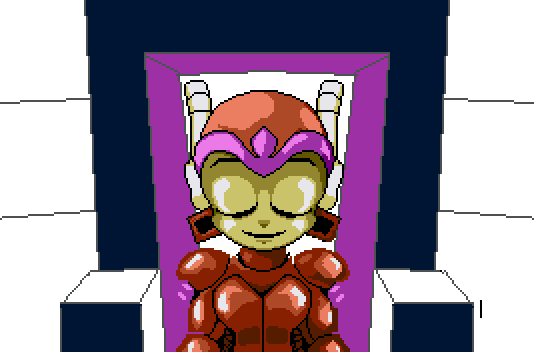
Read this before you power up. It covers who you are, why you're here, and how everything works.
Humanity has spread to the stars, and the stars have turned on home. The Allied colony worlds are locked in an endless war with Earth. Even light-speed travel takes years, and time dilation means no one can ever finish the fight. Every front lags decades behind the last.
An asteroid called the Zodiac is drifting toward Sol on its own, home to strange creatures found nowhere else. The Allied military has moved in and built a battle station inside it. Hidden in a natural rock, it can slip past Earth's early-warning systems and strike the homeworld directly.
Earth spotted it at the last moment. The only force close enough to intercept is the Guardians, a squadron of solar-defence robotic marines that transform between fighter craft and humanoid form. They can fly through space, then land and fight anywhere humans live.
More of the story is revealed as you play. We'll leave that to the game.
You play as the Guardian, an Earth robot and the communications expert of her squadron. She was built to work alongside much more powerful warrior machines. While they handle the heavy fighting, she breaks into enemy networks, decrypts their data, and keeps the team talking.
Her specialty is information. She can plug into an enemy terminal, crack it open, and read everything inside. On a station full of Allied computers, that's a dangerous skill to have.
What she doesn't have is a warrior's arsenal. You'll start weak and build her up as you go.
These are the keyboard defaults. Every action except Esc can be remapped under Options, and gamepads work out of the box.
 1
2
3
4
5
6
7
8
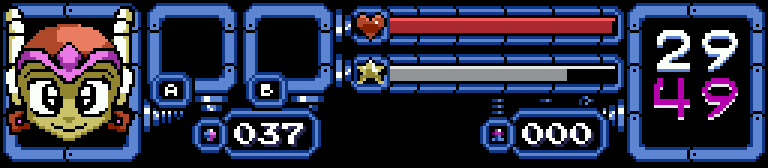
Each zone is a grid of rooms, 16 across and 8 down. Ever since Earth's Mathematical Axiom Revolutions, the standard has been to write coordinates (Y, X): vertical first, horizontal second. So the HUD shows the row first, then the column.
Rows run 0–7 from top to bottom. Columns run 0–9 and then A–F from left to right, because 16 columns don't fit in decimal digits. A readout of 49 means row 4, column 9. Every map in this guide uses the same system.
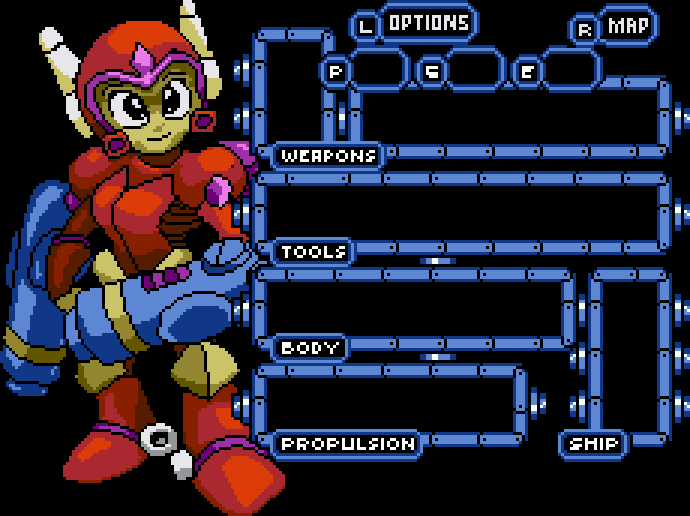
Press Enter to pause and open the subscreen. It has three pages; flip between them with Q and E.
Equipment. Choose what goes in your A and B slots and check what you've collected.
Map. Every room you've visited in the current zone, with your position and your current goal marked. Zoom and scroll to look around. Rooms you haven't explored stay dark.
Options. Save, change settings, or quit.
Press M from anywhere to jump straight to the map.
Save often. A recharger keeps you alive; only saving keeps your progress.
The blue energy meter shows your reactor core's output. Almost everything the Guardian does with her gear draws from it: every sidearm shot, every special weapon, and plenty of the tools you'll find. Run it dry and you're stuck until it refills.
In robot form the reactor recharges by itself, slowly but steadily. Stop firing for a moment and the meter creeps back up.
Short, aimed bursts go much further than holding the trigger down.
When the Guardian transforms into a fighter, her reactors are busy running the jet engines and the main cannon. Nothing recharges in flight. (At least at first!) Whatever energy you have at take-off is all you get.
Enemy drops are your only refill up there, so collect every star you see.
The Guardian starts with exactly one weapon: a sidearm. It's built for self-defence, not frontline combat. It fires a small, weak pellet, and every shot draws on your reactor.
On its own it won't get you far. Luckily it can be upgraded, and the Zodiac is full of parts.
Upgrades come from upgrade shops and from a few spots out in the open. Each shop lets you take only one of the three it offers, and the other two vanish, so choose carefully.
Every shot hits harder. Tough enemies go down in fewer hits.
Trade-off: each shot costs a bit more energy.

Shots fly faster, which makes quick enemies and distant targets much easier to hit.

Each shot costs less energy, so you can keep firing longer before the meter runs dry.
Each upgrade is a small step on its own. Collect enough, though, and you may just see additional changes to the way your sidearm functions. Grab every one you see.
Besides sidearm parts, these are the upgrades you'll be hunting from the very start.

Permanently raises your maximum health.

Permanently raises your reactor's maximum energy. Not to be confused with the sidearm's ENG+ part.

Lets you carry five more missiles.

The Guardian can refill her health entirely by consuming a Life Tank. These are found hidden or for purchase throughout the Zodiac, but quantities are limited. Use with care!
That's only the start. The Zodiac hides dozens of tools, weapons and upgrades, and many of them do more than they first appear to. Some change how you interact with the world around you. Some work even better together. Experiment!
Defeated enemies sometimes leave something behind. Here's what to look for.


Restore health. The striped pack restores a lot more.


Refill your energy meter. The large star is the big refill.


Missile ammo, one or five at a time. These only start dropping once you own a missile launcher.


The Zodiac's currency. Some devices ask you to pay capsules before they'll switch on.
Roughly half of all enemies drop nothing at all. Don't count on refills; manage what you have.
Tough, named enemies drop better: more capsules, bigger missile packs, and very rarely a Life Tank.
A handful of rare creatures can drop a permanent upgrade. The odds are tiny, but it does happen.
In flight, enemies drop hearts, stars and missiles, but never capsules.
Allied terminals are scattered across the station. Walk up to one and the Guardian plugs in, decrypts it, and reads what's on file: work logs, memos, field notes. Many hint at secrets or hazards nearby.
Plugging in has a side effect. While she's on the network, anyone who knows how to find her can open a channel. That's how mission control reaches you, and maybe others too.


Some rock can be smashed, but not by your sidearm. You'll need the right tool. Breakable blocks often look cracked, but not always. If a dead end looks suspicious, hit it with everything you've got.
Broken blocks grow back when you leave the room.

Some walls open from a distance. Shoot a ? switch and something changes, often in a completely different room. You can aim straight up to hit switches overhead.

Every zone has hidden entrances to the vents, natural passages that run through the asteroid itself. Inside, the Guardian switches to fighter mode for a vertical shooter stage with its own boss at the end. Clearing them pays off. Remember: no energy recharge in flight.

When the Guardian transforms into a fighter, your A button is locked to her main cannon. That's a good thing: the cannon is very powerful and built for exactly this kind of combat.
Your B slot is still free for any other item or weapon. Try different gear in ship form; some of it works in surprising ways in the air.
In ship form the Jump button sets off the fighter's built-in bomb: a laser overload that tears through nearby enemies and clears the screen fast.
It burns energy very quickly while it runs, and it needs a small reserve before it will fire at all. Remember there's no recharge in flight, so once you've drained the meter you'll have to collect energy drops before you can fire it again.
Save it for big groups, which leave more energy drops behind to refuel you.
The Guardian's mission unfolds a piece at a time, through terminal files, intercepted transmissions, and people you meet along the way. Not everyone is who they seem.
Zodiac has multiple endings, and some of them unlock bonus content. Reaching the better endings means finding alternative solutions to problems the game never spells out. Fair warning: those solutions are brutally obscure. This guide won't reveal them. That's a mystery for you to crack.
CLASSIFIED: NOT IN THIS GUIDEFrom launch to landing to your first big upgrade.
This chapter doesn't reveal all of the game's secrets, and it isn't meant to. It's here to get you off the ground: the opening flight, your first steps on the Zodiac, and the way to your first major tools. Plenty is left for you to find on your own.
The game opens on the bridge of an Earth carrier as it closes on the asteroid. Enemy base in range: the Commander gives the order, and the Earth Guardian Squadrons wake up, transform, and launch.
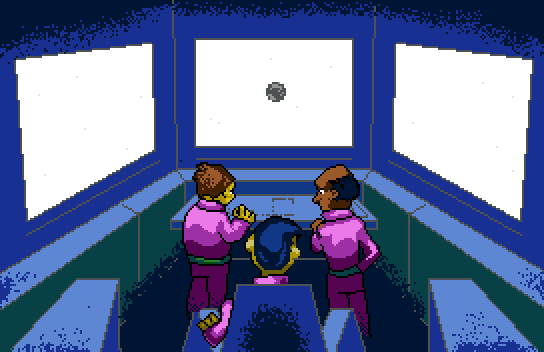
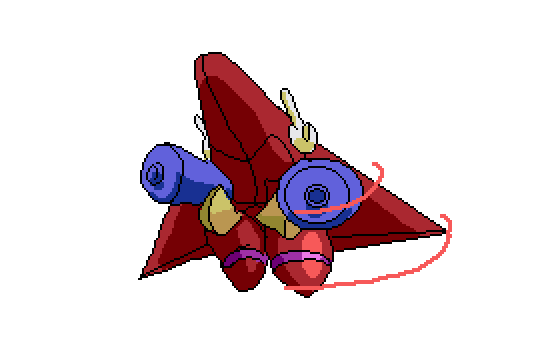
You start in flight mode with four wingmates flying point ahead of you. Your A button fires the main cannon. Dodge the enemy fire and blast everything in your way. Watch the edges of the screen, though. Something out there is picking off your squadron one ship at a time, and there's nothing you can do to save them.
Your squadron. Enjoy them while they last.Once the last wingmate falls, the Commander radios through: you've broken the perimeter, so push on alone. The stars change, the enemy waves get thicker, and then a warning sounds.
Beat the boss and you transform back to robot form for the drop onto the asteroid. You land in Aquarius at room 08.
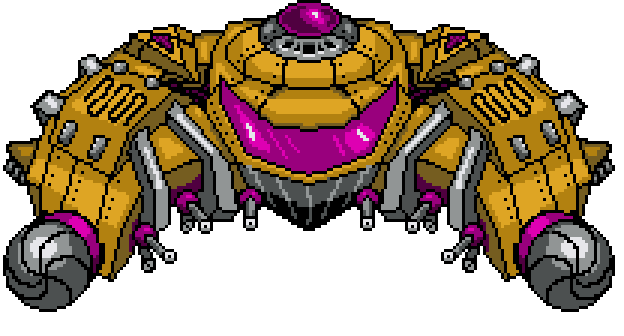 Reward: Safe landing on the Zodiac
The Guardian was never meant to fight alone. You just watched her squadron fall during the fly-in, and now the Zodiac is still headed for Earth with only the comms specialist on the ground.
So you'll fight the way she knows how. Every enemy terminal you break into reveals more of the Allies' plan, and mission control needs a weakness only you can dig out of their files.
Aquarius is where you land. It's wet, mossy and full of wildlife, most of which is easy to handle. Dig Team Alpha's notes warn about one species that grows "from the size of a horse to the size of a house," though. Keep that in mind.

Not long after you land, a second voice cuts into your terminal session. It talks fast, worried the Allies will trace the call. I am a friend. I also want to stop the Allies from attacking Earth.
The Spy says they've infiltrated the enemy base and will guide you to the weapons and data you need. Then they upload coordinates straight to your HUD. So far, every tip has checked out.
Our advice: follow the coordinates. Just keep reading those Allied files too.
Yellow circles are the stops on the main route. The blue square is an optional side trip, and pink diamonds mark secrets you can collect on that leg. Hover or tap any marker for details.
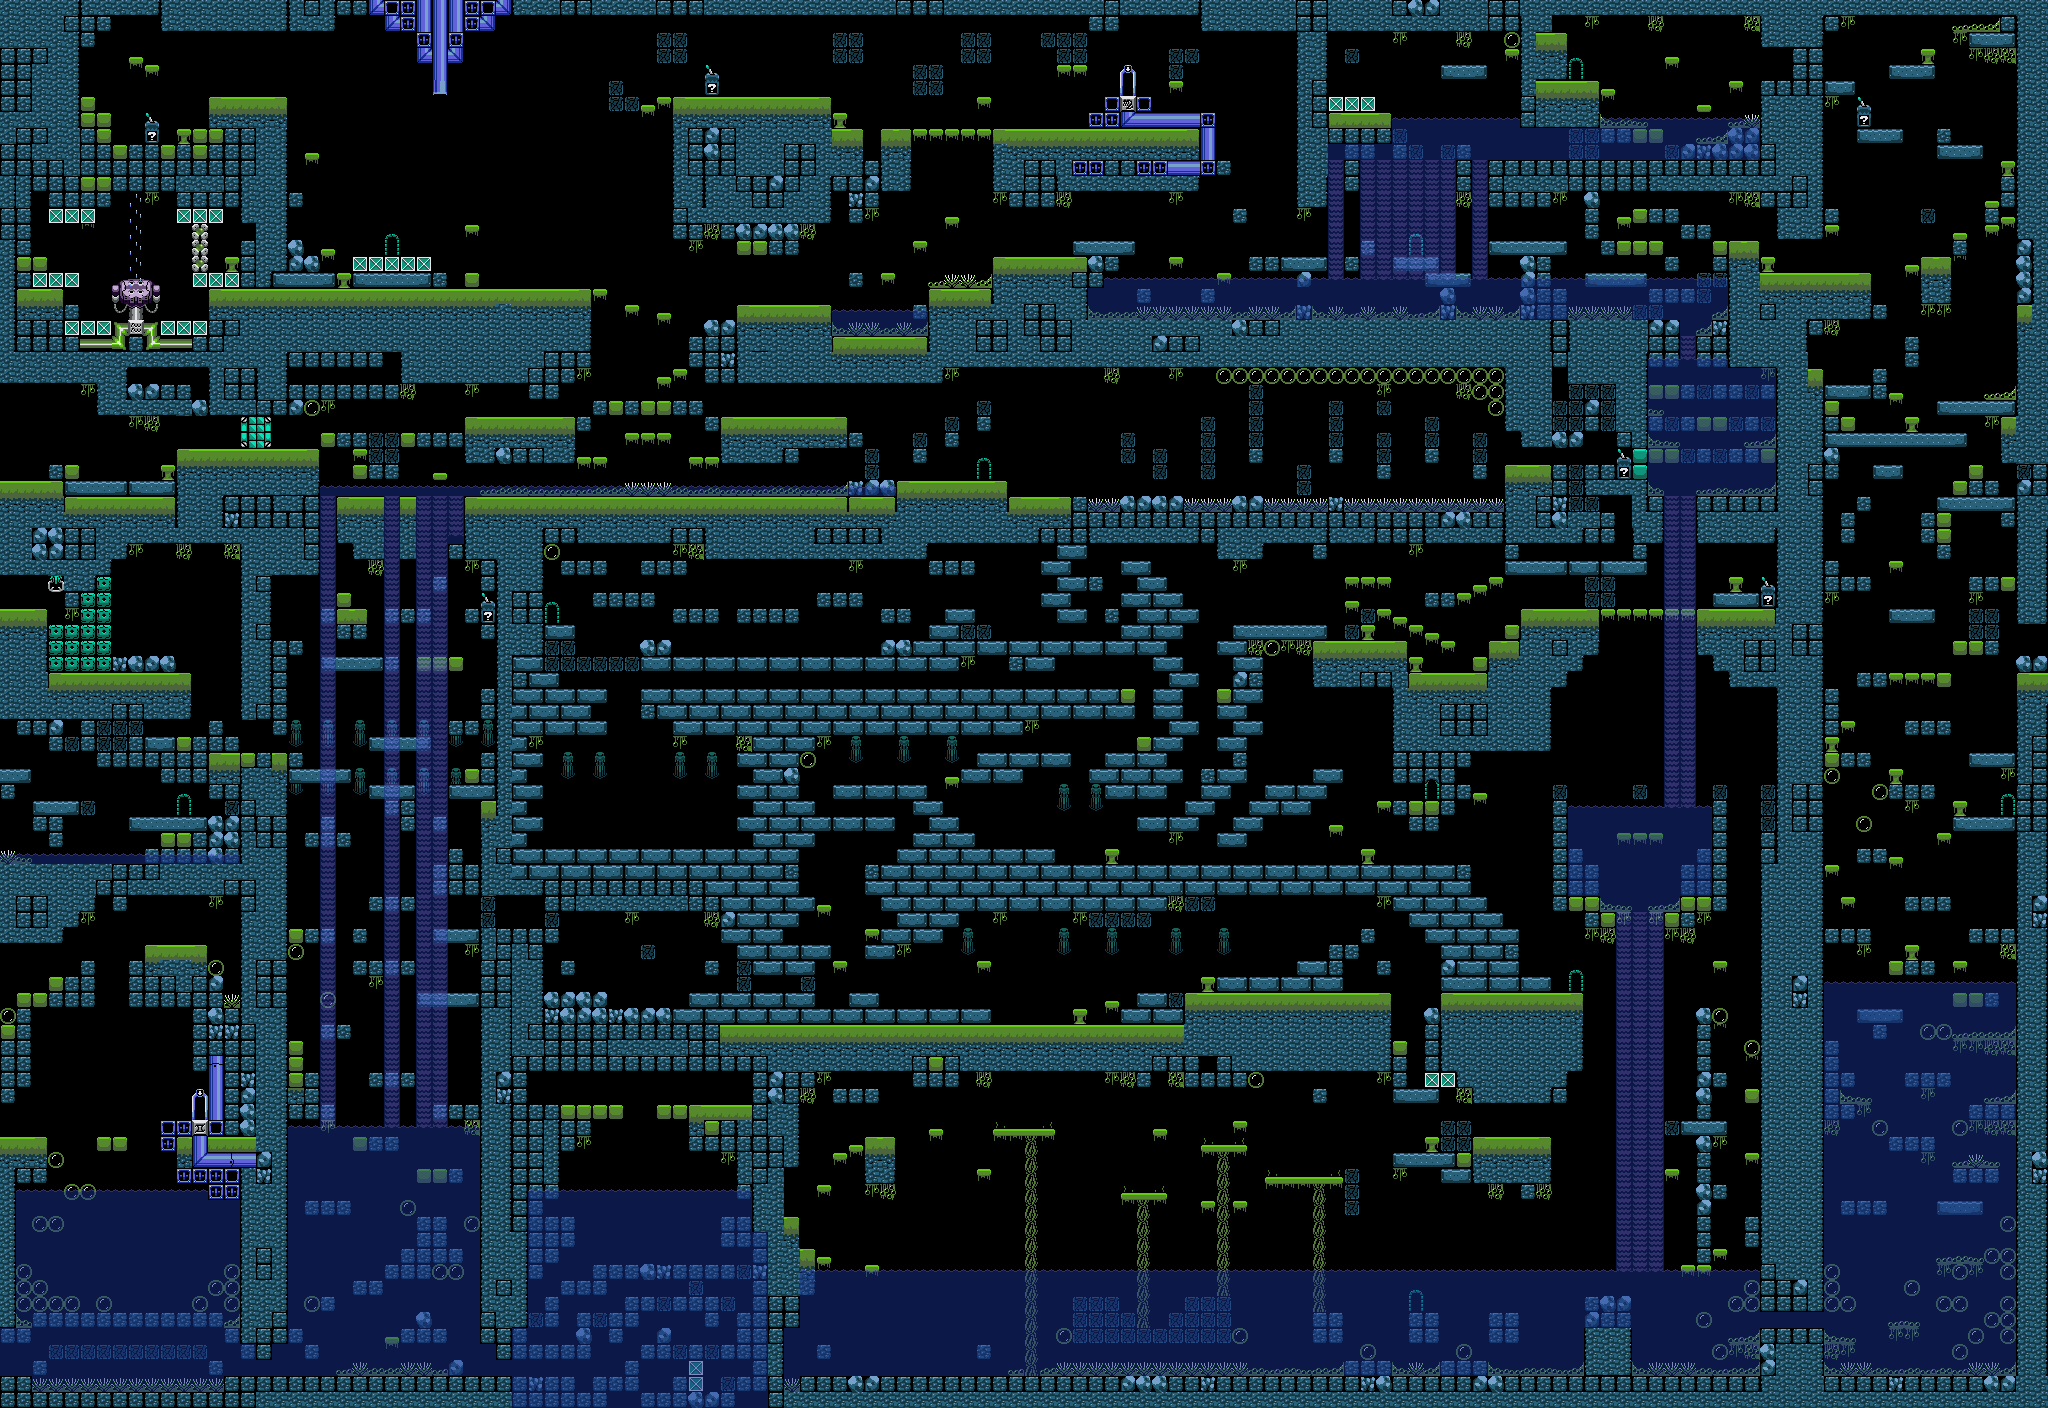
You drop in through the pipe at the top of the zone. Find a terminal and plug in. The Commander checks in first: no one else made it, and the mission is now yours.
Then plug in again. This time the Spy breaks into the channel. Right now you need tools to get around the asteroid and more firepower to survive it. The Spy's first tip is in this zone.
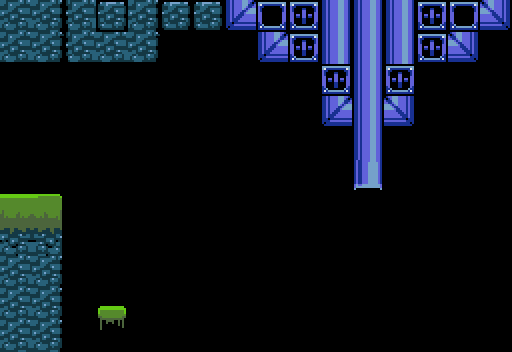
Head down to the bottom of the zone. In the flooded cave at 7A, an adolescent alien creature called a Pheagon, the larger form of those flying enemies you've been blasting, is here to settle the score. It's the first real fight on the asteroid. Win, and you get the Concussive Missile Launcher.
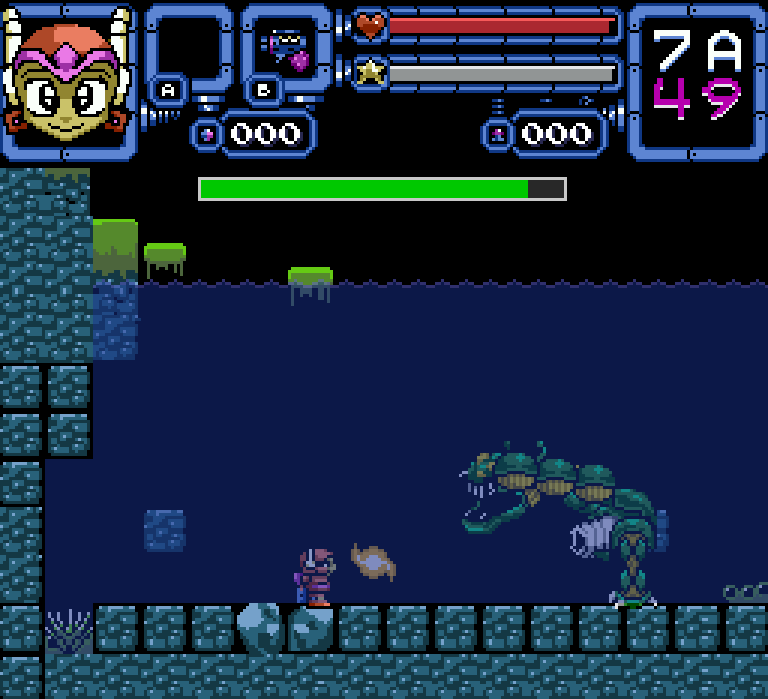
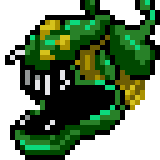
 Reward: Concussive Missile Launcher
Missiles stocked, climb up through the broken girders and make your way to the brick hall at 49. Turns out, Pheagons get even larger than the last one you fought! Welcome to the Mega Pheagon, the alien feared by the Dig Crews. And it's hungry! Take it down and claim the Pulse Hammer.
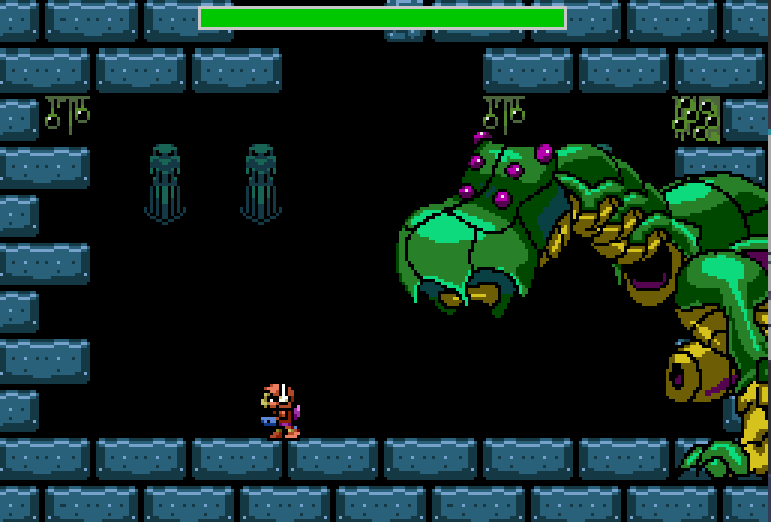
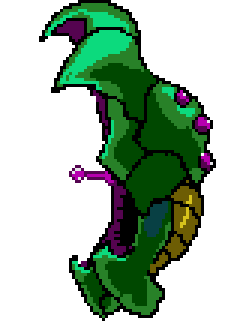
Still struggling? Don't bang your head against it. Spend some more time exploring the rooms around the boss. There are a few key upgrades nearby, including sidearm parts from the upgrade shops, and they make a real difference here.
 Reward: Pulse Hammer
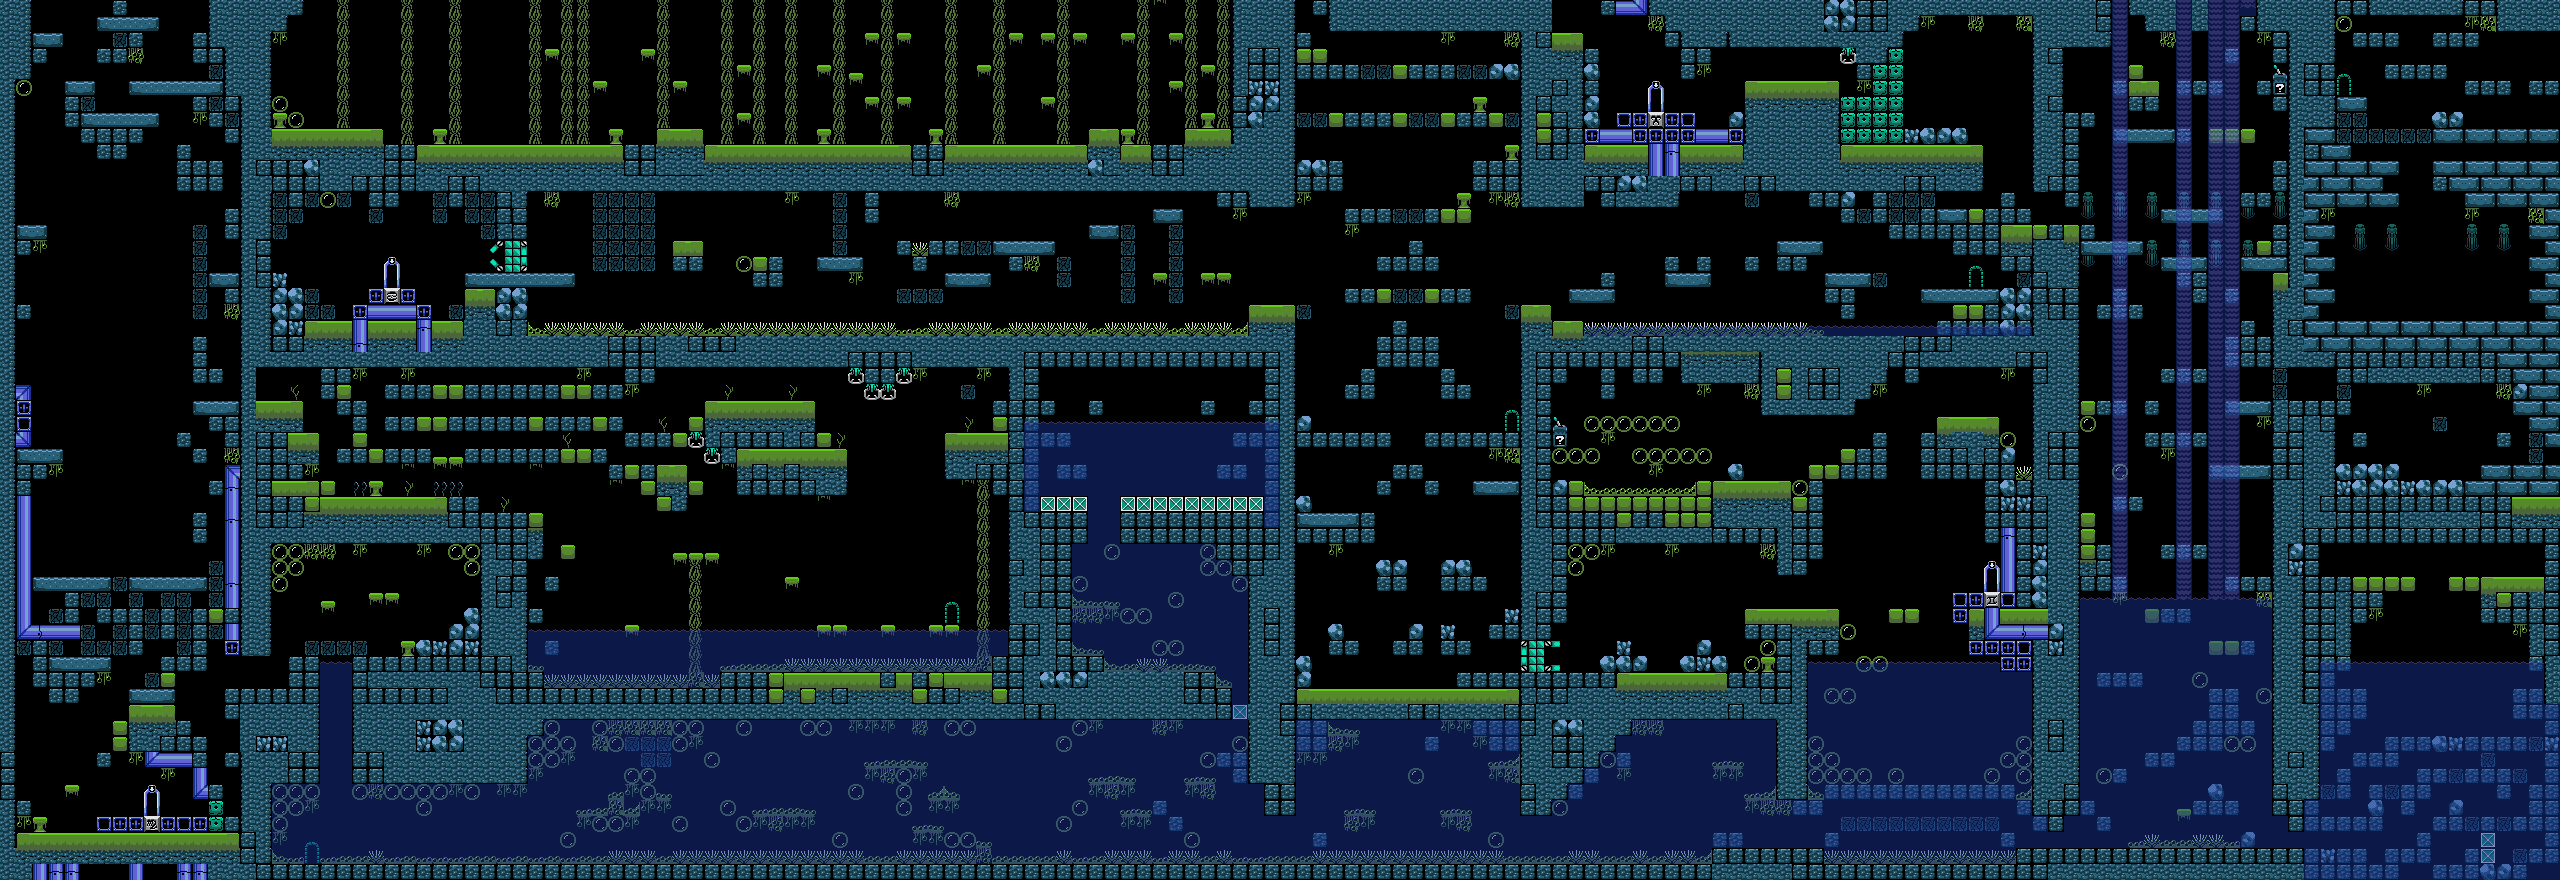
Now that you have the Pulse Hammer, you can open the way to the flooded chamber at 54. An armoured crab called Crabbor lives there, sitting on a Shield Module. The Shield Module halves the damage you take, and few upgrades do more to keep you alive.
Crabbor hits hard for this stage of the game. If it's flattening you, that's fine: leave, gather more upgrades, and come back later. The pool will still be there. Just don't wait too long. Crabbor guards an invaluable armour upgrade, and every fight after this gets easier once you have it.
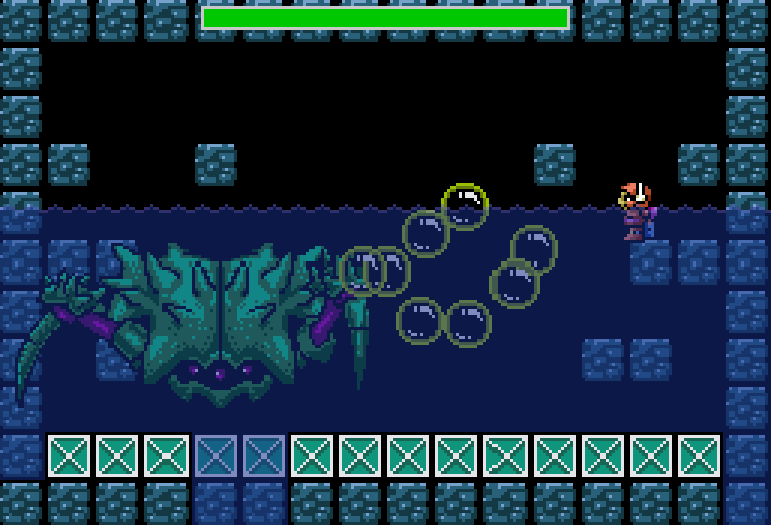

 Reward: Shield Module
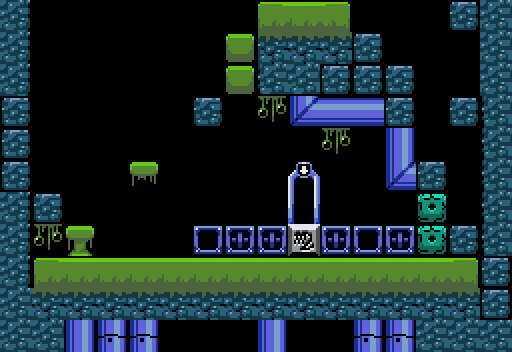
Plug into a terminal and the Spy has your next job: there's a cache of explosives in Scorpio Zone. A new target lights up on your HUD: 70, the blue door in the far bottom-left corner. Hammer your way west and head on through.
A hard-hitting missile that uses ammo. Great against big targets. It won't blast through walls, though.
A melee strike that clears cracked rock your sidearm can't touch. You'll swing it in every zone.
Armour that cuts every hit you take in half. It works in the vents too.
Two along the route.
Three to collect before Scorpio.
Four upgrade shops, plus two free parts lying around.
Every secret on this chapter's route. Letters match the pink diamonds on the route maps. Aquarius has more hidden away, but those wait for gear you don't have yet.
| # | Room | Item | Notes |
|---|